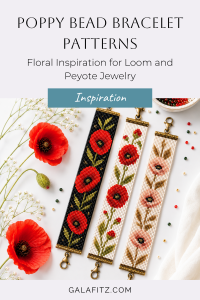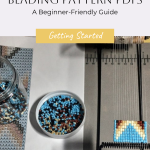
Bead loom bracelets look intricate, but the actual process is wonderfully rhythmic and relaxing. Once you understand the basic steps, you can turn tiny beads into beautiful, wearable art again and again. In this guide, you’ll learn exactly how to make a bead loom bracelet from start to finish — even if you’ve never used a loom before.
What Is a Bead Loom Bracelet?
A bead loom bracelet is created by weaving beads between parallel threads that are stretched on a bead loom. The loom keeps your threads straight and evenly spaced so you can follow patterns precisely and build neat rows of beads. It’s perfect for graphic designs, geometrics, words, and tiny “pixel art” motifs.
Materials You’ll Need
Gather everything first so you can enjoy the weaving without interruptions:
- Bead loom – any simple bracelet-sized loom will work.
- Beading thread or nylon thread – strong, thin thread designed for beadwork.
- Beads of your choice – cylinder or seed beads in your favorite colors.
- Beading needle – fine enough to pass through your beads multiple times.
- Scissors
- Clasp or closure (optional) – for a professional, easy-to-wear finish.
- Small tray or bead mat (optional) – helps keep beads from escaping.
Tip: If you’re using a PDF pattern from the shop, keep it open on a screen or printed next to you so you can easily follow the color chart as you weave.
Step 1: Set Up Your Bead Loom
- Place your bead loom on a flat, stable surface.
- Secure one end of your beading thread to the loom’s anchor point or tie-on bar.
- Pull the thread across the loom and attach it to the opposite anchor point. The thread should be firm and straight, but not overtightened — think “guitar string” tension, not “bow and arrow.”
- If your loom requires multiple warp threads, follow the instructions to space them evenly; this spacing must match the number of beads in a row in your pattern.
- Thread the other end into your beading needle so you’re ready to start adding beads.
Step 2: Prepare Your Beads and Pattern
Now it’s time to choose the look of your bracelet.
- Select your beads
Pick the colors and finishes that match your style or your chosen pattern: matte, metallic, transparent, or a mix. - Arrange your beads
- Pour small amounts into a tray or onto a bead mat.
- If you’re following a pattern, sort the colors into separate sections so you don’t mix them up.
- If you’re designing as you go, play with a few color combos first to see what you like.
- Keep everything within reach
Place your beads, scissors, and clasp nearby so you can weave comfortably without getting up every few minutes.
Step 3: Start Weaving Your First Row
This is the moment the bracelet begins to appear!
- Pick up your needle and thread.
- String the beads for the first row according to your pattern (for example, 7 beads if your bracelet is 7 beads wide).
- Slide the beads down the thread until they rest just under the warp threads on the loom.
- With your finger, gently press the beads up between the warp threads, making sure each bead sits in its own little “gap.”
- While holding the beads in place, pass your needle back through the beads in the opposite direction, this time going on top of the warp threads.
This step locks the beads in place so they can’t fall out.
Congratulations — you’ve woven your first row!
Step 4: Continue Weaving Row by Row
Now you’ll build the bracelet by repeating the same basic movement.
- Pick up the beads for the next row, following your pattern.
- Slide them down to the loom and push them up between the warp threads.
- Pass the needle back through the beads in the opposite direction (above the warp threads).
- Gently push the new row down so it sits snugly against the previous one.
- Repeat until your bracelet reaches the desired length — usually just a bit longer than the narrowest part of your wrist to allow for the clasp.
As you go, occasionally check:
- Are the rows straight and aligned?
- Are you following the pattern correctly?
- Is your tension even (not too tight, not too loose)?
Taking your time here makes a big difference in the final look of the bracelet.
Step 5: Finish and Secure Your Bracelet
Once your last row is complete, it’s time to secure all that beautiful work.
- Tie off the thread
- Pass the needle through a few beads in the last rows.
- Make a small, tight knot between beads (or around a warp thread).
- Repeat once or twice for extra security.
- Trim the thread
Carefully snip the excess thread close to the knot without cutting your warp threads. - Remove the bracelet from the loom
Follow your loom’s instructions to release the bracelet. Go slowly so no threads slip or beads loosen. - Add a clasp (optional but recommended)
- Gather the warp thread ends at each side.
- Tie or stitch them into your chosen clasp or closure.
- Weave or knot any remaining threads back into the beadwork and trim.
Now you have a neat, secure bracelet ready to wear.
Step 6: Enjoy and Experiment!
Your bead loom bracelet is finished — time to admire it, gift it, or show it off online!
Once you’ve made your first bracelet, you can:
- Try different color schemes for the same pattern.
- Experiment with new designs, such as florals, tribal motifs, text, or abstract geometry.
- Create matching sets: bracelet + earrings or bracelet + keychain.
- Build a little collection that reflects your personal style or seasonal themes.
The more you practice, the more natural the weaving motion will feel, and the more complex patterns you’ll be able to tackle.
The detailed video instruction by Beadaholique of how to make a bead loom bracelet is below 👇
Making a bead loom bracelet is a wonderful mix of calm, repetitive weaving and creative design. With a simple loom, some thread, and a handful of beads, you can create a bracelet that looks polished and professional — and completely unique to you.
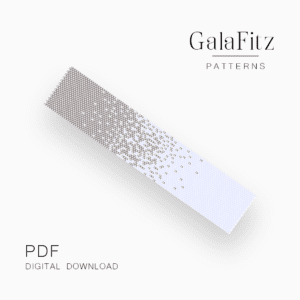
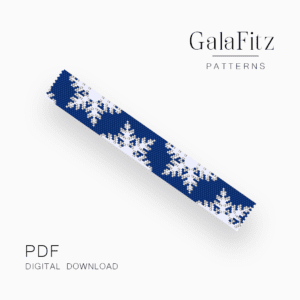
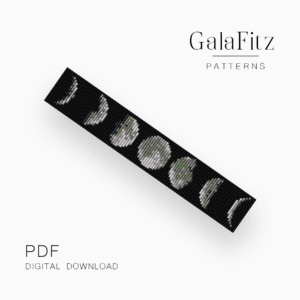
Browse the loom bead patterns in the GalaFitz shop to find ready-made designs you can start weaving right away — from minimalist geometrics to statement bracelets inspired by art and nature. Download a pattern you love, set up your loom, and let your next bracelet come to life bead by bead.